Salted Caramel popcorn

Anyone who thinks they’re too grown up or too sophisticated to eat caramel corn, is not invited to my house for dinner
— Ruth Reichl

Salted Caramel Hazelnut Popcorn

The Oscars are around the corner friends, so if you are a movie buff or just like to hang out with friends and eat popcorn then this salted caramel popcorn is for you. You know the old saying with Lays potato chips that “you can’t eat just one” well same goes for this salted caramel popcorn. It is one of those sweet and salty flavors that you promise you will only eat a little and then suddenly a little turns into the entire bowl.

To keep the munchies down to a minimum however, you can put it in baggies for your guests and everyone will be delighted. It is a big hit whether you are making it for Oscar night or just to share with your foodie or even non-foodie friends. Oh and when they ask you for the recipe don’t forget to mention you saw it here first.

Happy munching friends!


Ingredients

  • 1/2 cup Fresh Popcorn Kernels

  • 1 tablespoon coconut oil

  • 1 cup of Salted caramel (see ingredients)

  • 1/2 cup Chopped Toasted Hazelnuts

  • Fine Sea Salt, to taste

Salted Caramel (make ahead)

  • 2 cups sugar

  • 1 cup heavy cream, room temperature

  • 12 tablespoons room temperature butter cut into cubes

  • 1 tablespoon Sea Salt (Maldon is a great brand, I like and use)


Step 1

A day or two before make the salted caramel.  Have all ingredients ready before beginning!

 In a large flat bottomed stainless steel sauté pan with high sides or in a  non-nonstick pot heat the sugar on low-medium, pay attention as you wait for the sugar to melt.  Once you begin to see the sugar melt wait a second or two longer then slowly begin to push the sugar to the center, allowing the sugar to melt away.  Once all of the sugar has melted continuing stirring the carmel around until it reaches an amber brown color.  When at the amber color add room temperature butter and stir.  Be careful this is VERY hot! Remove the pan from the heat and stir in slowly the room temperature cream.  It will bubble up quickly so again beware but just keep stirring until everything is incorporated and melted.  Add Salt and pour into a glass container and allow to cool to room temperature. Refrigerate if not using the day of making the popcorn. Remove from refrigerator prior to cooking popcorn.

Step 2

Make the popcorn the day of for  freshness.  Have caramel at room temperature before making popcorn.

To make popcorn:  Use a medium size pot that has a handle and lid. Add the coconut oil to pot and heat on medium heat until melted.  Add popcorn kernels to pot and cover.  When you hear the first kernel pop hold the lid and shake pan back and forth over the stovetop until you hear only one or two kernels left.  Turn off heat and remove lid. Immediately dump popcorn into a large bowl.

Step 3

Pour caramel over popcorn and stir using a spatula or other non-stick utensil.  Add Chopped Hazelnuts.  Taste, and if more sea salt is needed, add, and stir to taste. Place in a large bowl or small bags and serve.

Tips

  • Never leave your caramel unattended and have all ingredients ready before beginning the process.

  • Fine Sea Salt will stick best to the popcorn and the caramel after mixing but use the finger-pinch method and add a little at a time. Remember there is salt in the caramel. TASTE,TASTE,TASTE

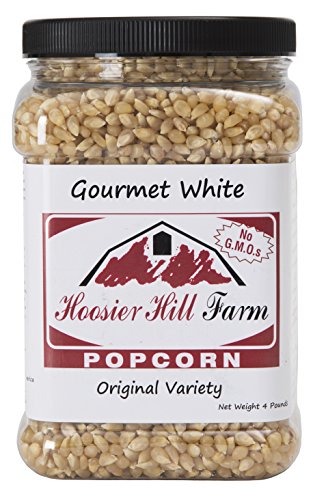
  • Homemade popcorn is scrumptious and once you know how to make it you will never go back to the microwave again! It can be made in almost the same time as the Microwave bag!
 

Homemade Vinegar

Hello, World!

We are like oil and vinegar most of the time. But when you shake us up real good, the combination is heavenly.
— Janet Chapman

Homemade Red Wine Vinegar

I am kind of a big reader. However, I will admit I am picky about what I read. I have always heard that readers make great writers.  It is an interesting thought...  Does that mean that people who don't like to read much can't write?  Or maybe there interest would never lie in writing since, who wants to write if they don't even like to read.  Right?

 Our society is slowly drifting away from reading.  Bookstores are becoming the thing of the past.  Libraries seem like they have to beg for money to have support.  It's a bit sad to me.

 After all sometimes those moments were the best of our lives.  Remember all of the friends you made at the library?  I don't mean the real people but the "book people".  The ones who told you about their lives.  The ones whose reality became where you were living for those 30 or 40 minutes you spent opening the book before you checked it out, to let your book friend come home and visit you at your house.

 I recall  reading a book as a kid "From the mixed up files of Mrs. Basil E. Frankweiler" it was about two kids who ran away to live in the Metropolitan Museum of Art in New York City.  It was an adventure for them. It was my adventure.  I was there hiding in the bathroom, standing on top of the toilet seat, waiting for the guard to check and make sure the visitors were gone from the museum.  I was with them when they slept in the beds of the royal kings.  I was collecting the coins in the fountain to have money for lunch.  It was real, so, so real.  Children have amazing imaginations. I like to think I am one of those children.


 Sometimes I think about that...do I still have that kind of imagination?

 Stress, life, being so busy, that overwhelming feeling of not getting everything done, it takes it's toll, don't you think?

 I have pushed aside my reading as of late and maybe that's why it is in my head right now.  Why has life been taken over by that feeling of "too busy"?

 I went to a food blog conference recently and heard story after story of people and what they consider "success" but each time I found that they seemed overwhelmed, a bit burnt out or "I didn't see my family" kind of success.  And although I agreed with the work hard attitude it is never worth it to me to see success in that manner.  That isn't success, that's sadness.

Maybe I will never have loads of money or tons of vacations but that isn't important to me.  If losing the moments of imagination, if creativity becomes a burden, if we forget to pick up a book and lose ourselves in it, then "success" was never there.

  I hope as you read this you look for a little piece of imagination in your life and remember success isn't about living the reality of the dream it's about continuing to dream.

Red Wine Vinegar Bottle Filling

Ingredients:

  • Mother for Vinegar

  • 16 oz Red Wine🍷

  • 8 oz water

  • Cheesecloth

  • Glass or Wood container with a spigot and an opening at the top for pouring

  • Time⏱

Step 1

Place mother inside of clean container and add wine and water. Cover with cheesecloth and secure with rubber band as needed. Mark the start date somewhere on your jar.

Step 2

Keep container in cool dark place for at least three months.  When you have wine leftover remove cheesecloth and add wine. Then place cheesecloth back on with rubber band.  You will want to add wine about once per week if you do not have leftover wine regularly to add. 

Step 3

Check vinegar using spout after a few months for taste.  If not too liking continue to add wine about once per week. Not much needed maybe two tablespoons at the least at a time.  If you have more and the container is not full you may add more.

Step 4

When Vinegar is too your liking you may pour from spigot into clean glass jars and cork.  You can strain via a cheese cloth if you do not want any fermentation in your container.

Tips

  • Do not skim off the top of the vinegar that is the mother working well and good bacteria (FYI however it isn't very pretty)

  • Tasting the Vinegar is important!  You want it to taste like vinegar not wine.  (A little tang on the tongue)

  • Need a good Vinaigrette Recipe go here

  • If you prefer White Wine Vinegar same steps just use white wine and a white wine mother

  • Time is important to make great vinegar but once you have it you can continue using the mother for years!

Tell me what you want to see or learn NEXT on the blog?  Questions? Comments?  Write below.

Tomato Tart

Knowledge is knowing a tomato is a fruit. Wisdom is not putting it in a fruit salad.
— miles kington

Tomato Tart

What was on your Summer Bucket list this year? 

  • 🍦Make Homemade Ice Cream ✅

  • 🚵‍♀️Take a Bike Ride ✅

  • 🍉 Have a Picnic ✅

  • 🌄 Watch the Sunrise ✅

  • 🗯 Make Giant Bubbles ✅

  • 🏕 Go Backpacking ✅

  • 😎 See the Eclipse 2017 ✅

  • 🔥 Have a Bonfire ✅

  • 🍇 Go to a Vineyard ✅

  • 🍅 Make a Tomato Tart ✅✅✅

You still have time to finish off your List and make this amazing Tomato Tart because officially summer doesn't end until September 22nd!

Why is it that we always have a Summer Bucket List but never get around to doing hardly anything on the list?  Somehow it passes and yeah we might have gone hiking or ate a s'more or two but we seem to miss out on the simple things like playing with bubbles or watching the stars outside.

 Summer seems to come to an end when school starts and yet for most of us school isn't starting in fact, it's still the same week as last week with work on Monday and ending on Friday.  So don't let your work week keep you from this good news: the sun is still shining and it is still a little warm. You still have time to have some fun!  

Do you have something on your bucket list you haven't checked off yet?  Pick one thing and do it, NOW!  Your kids will love you, because you just extended summer and showed them that it's okay to have a picnic, or make homemade ice cream in September.

  It's okay to make a plan to go outside and stretch the limits of summer.  In fact maybe your summer tomatoes are just now coming to their peak.  That is definitely the case if you live in the PNW.  It takes September for the tomato to be at it's best.  

Whatever you do make sure you take some time to smile 😊 and enjoy a little something you love because after all that's what a bucket list is all about. 

And remember the Fall Bucket List is just around the corner...🍁🍂🍁

Ingredients

  •  1 PIe/Tart Crust (Get Crust Recipe Here)

  • 2 Tablespoons Dijon Mustard

  • 2 Tablespoons Grain Mustard

  • 1 teaspoon olive oil

  • 1-2 teaspoons dry herbs de provence 

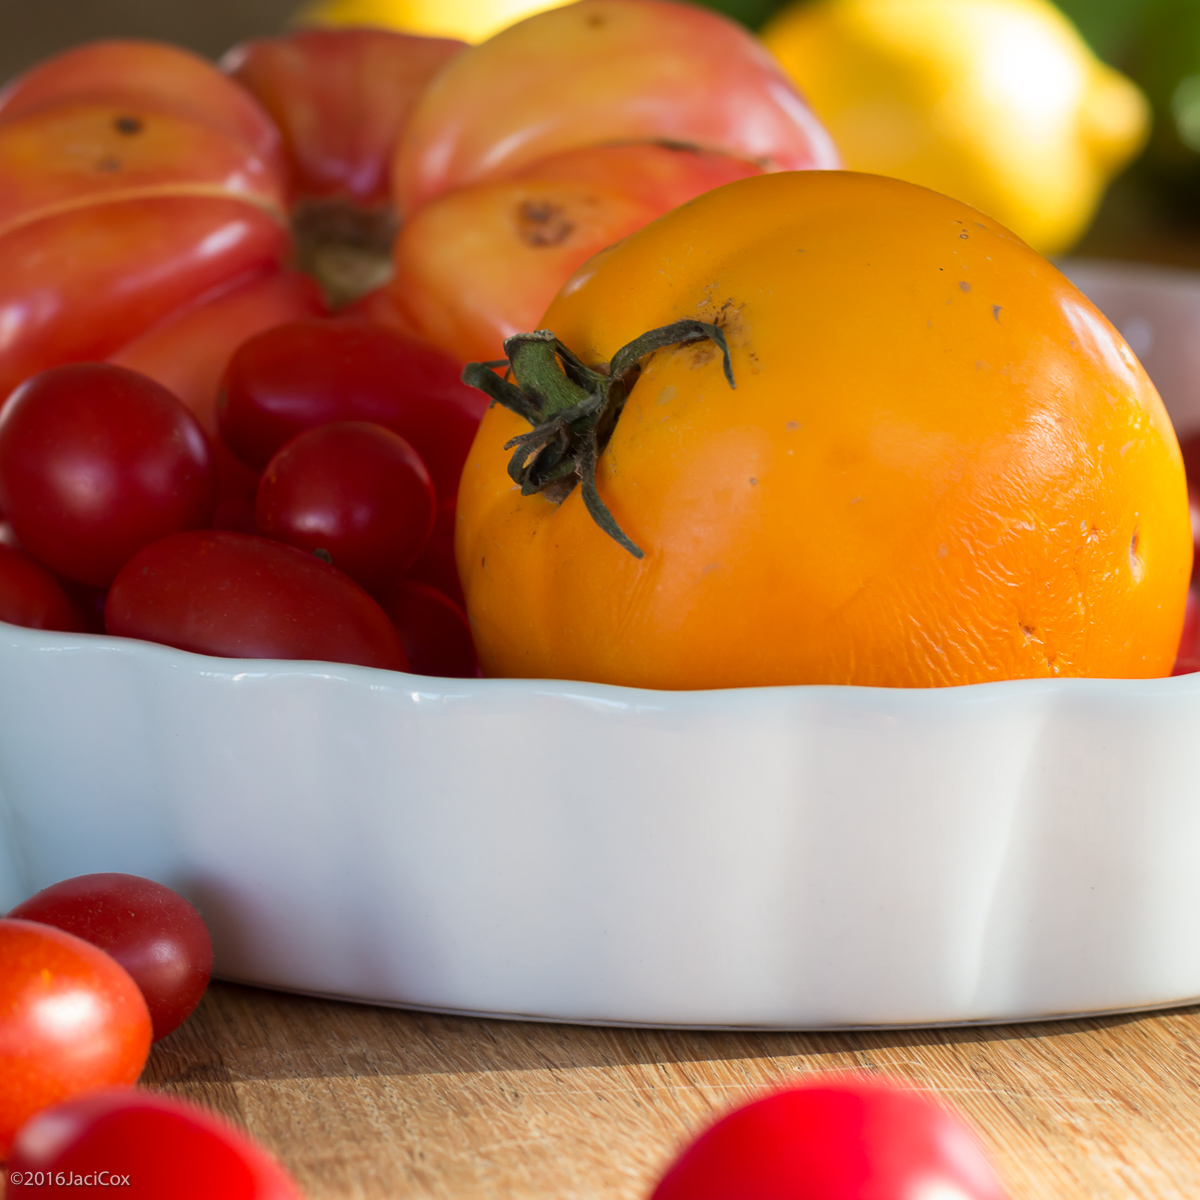
  • 2 large Heirloom Tomatoes

  • 1 pint small tomatoes

  • Salt- 1-2 teaspoons for draining tomatoes

  • Fleur de Sel or finishing salt to taste

Step 1

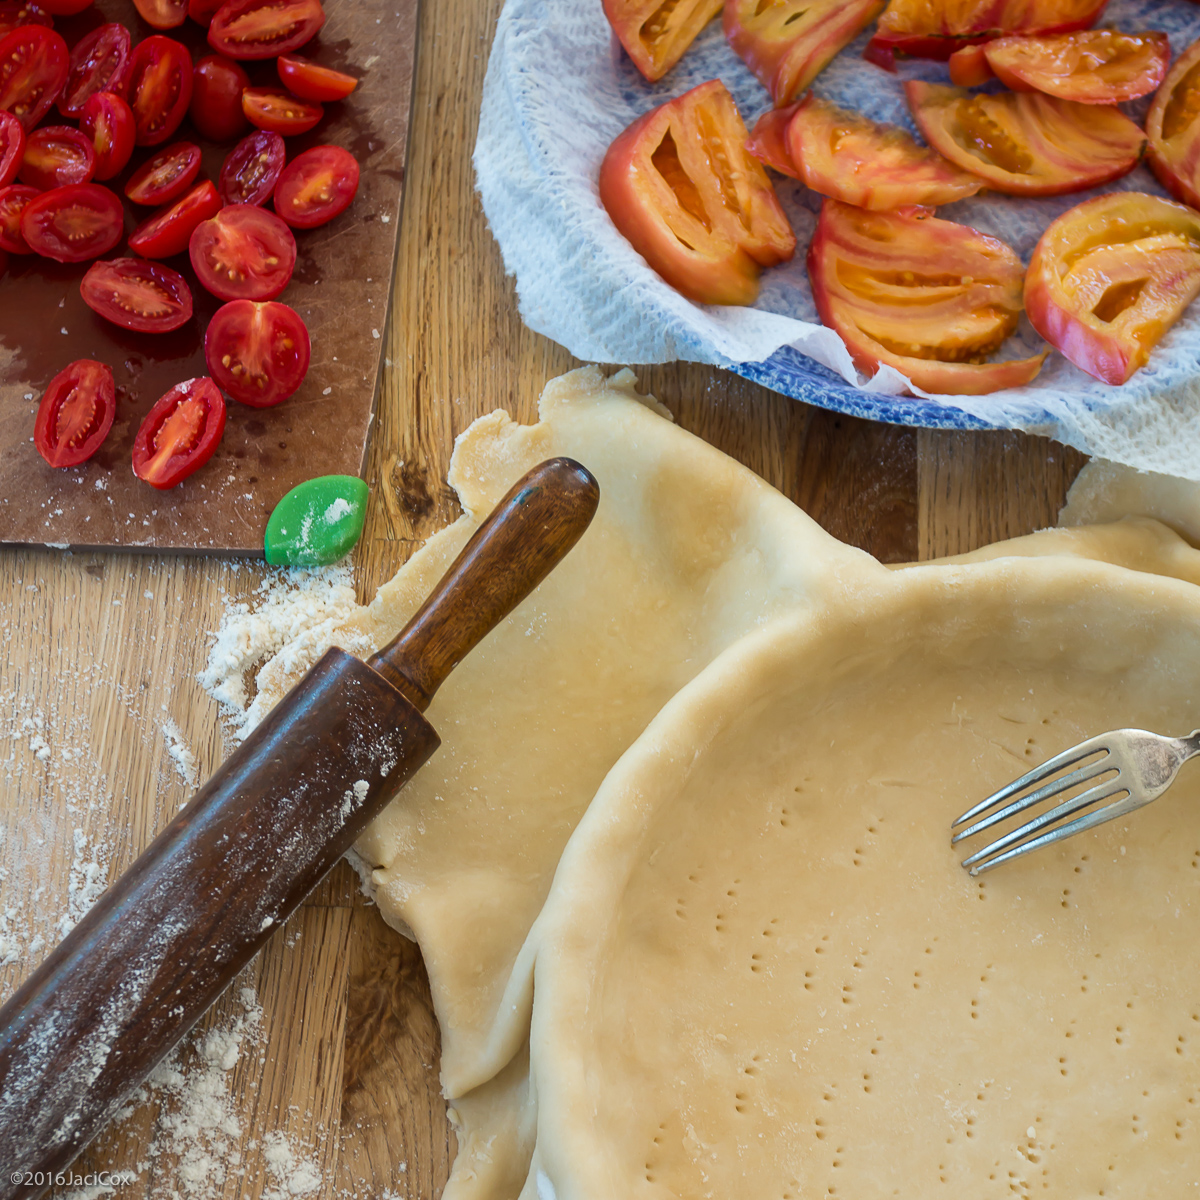
Make Crust and pre-heat oven to 425 degrees. Pre-bake crust for  10 minutes.  Slice large tomatoes and place on paper towels and salt.  Allow salt to drain tomatoes of liquid then pat dry. 

Step 2

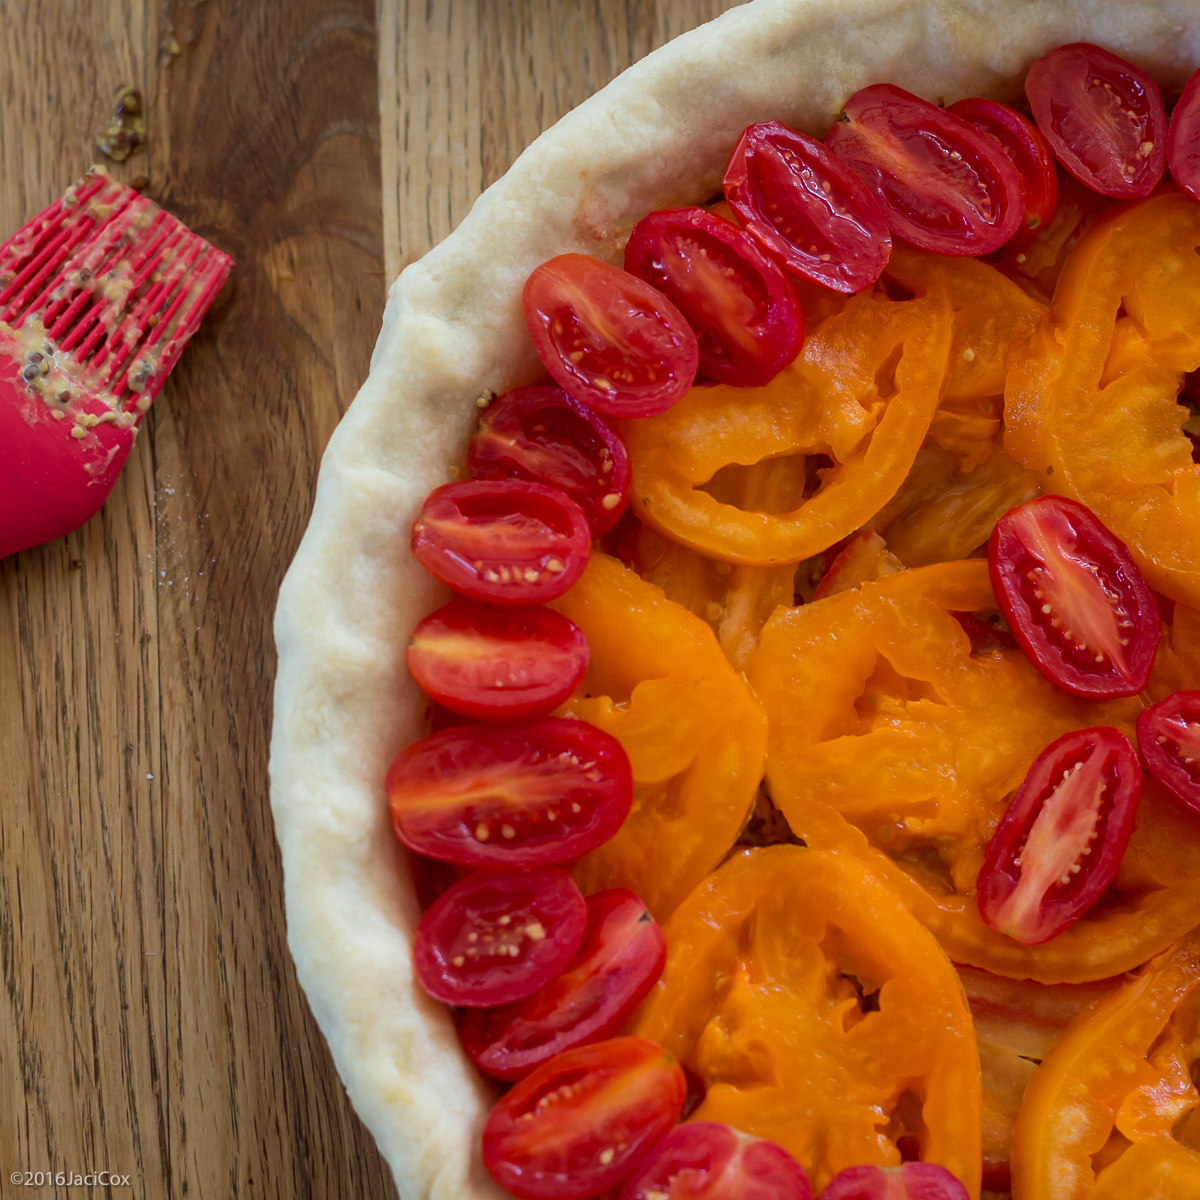
Mix mustards together in a small bowl. After crust cools, using the back of a spoon or a brush, brush mustards onto bottom of pre-baked crust.  Next layer tomatoes on top of mustard.  Sprinkle herbs over tomatoes and drizzle olive oil.  

Step 3

Bake tomato tart for about 30 minutes at 400 degrees or until crust is golden brown and tomatoes have shriveled slightly. Finish with Fleur de Sel to taste.

Tomato Tart with Mustard


Tips

  • Tomatoes can be pre-sliced and salted up to 1 hour prior and allowed to drain

  • Choose the best tomatoes you can find as this is your prime ingredient

  • Now is the time to use those slightly overripe tomatoes

  • Add a little fresh basil afterwards on top and serve with a salad dressed in a vinaigrette

  • A nice Dry Rosé goes wonderfully with this summer tart